
Last updated October 17, 2026
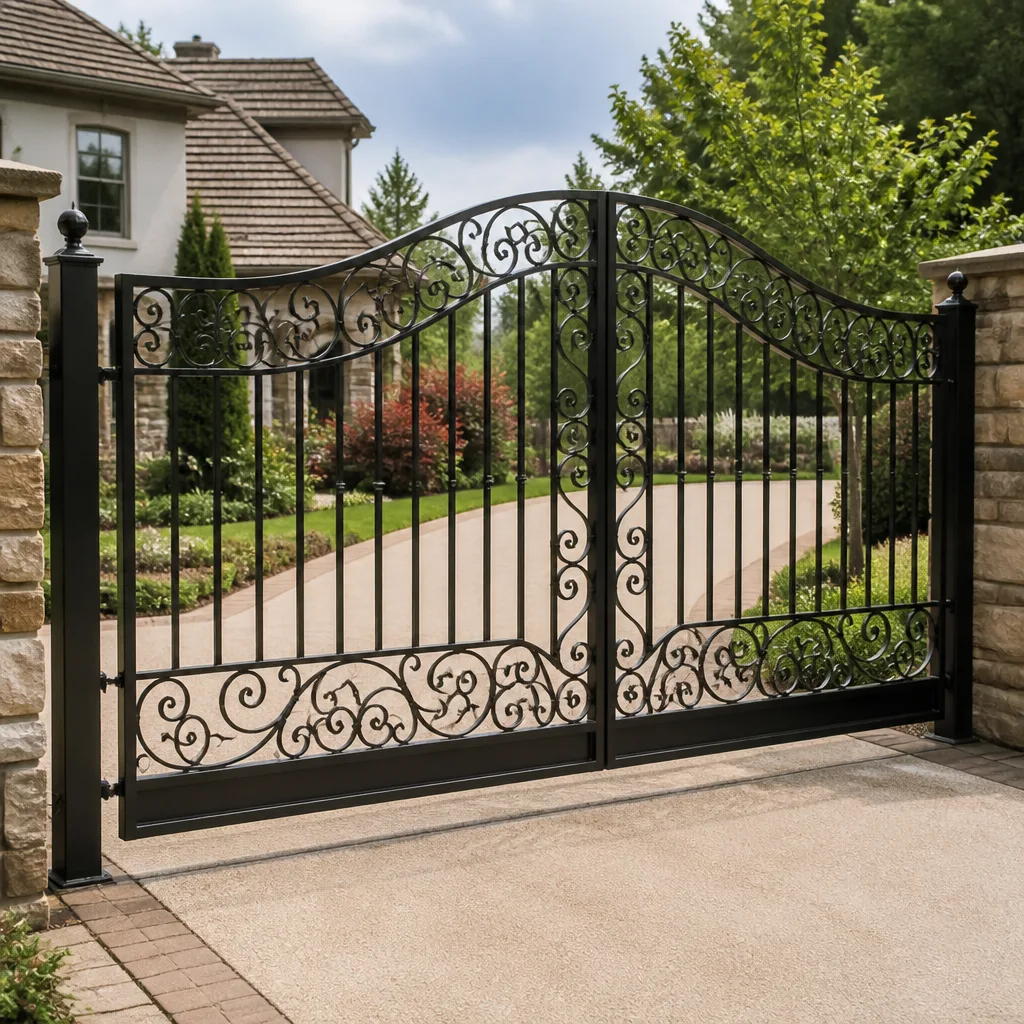 Wrought iron
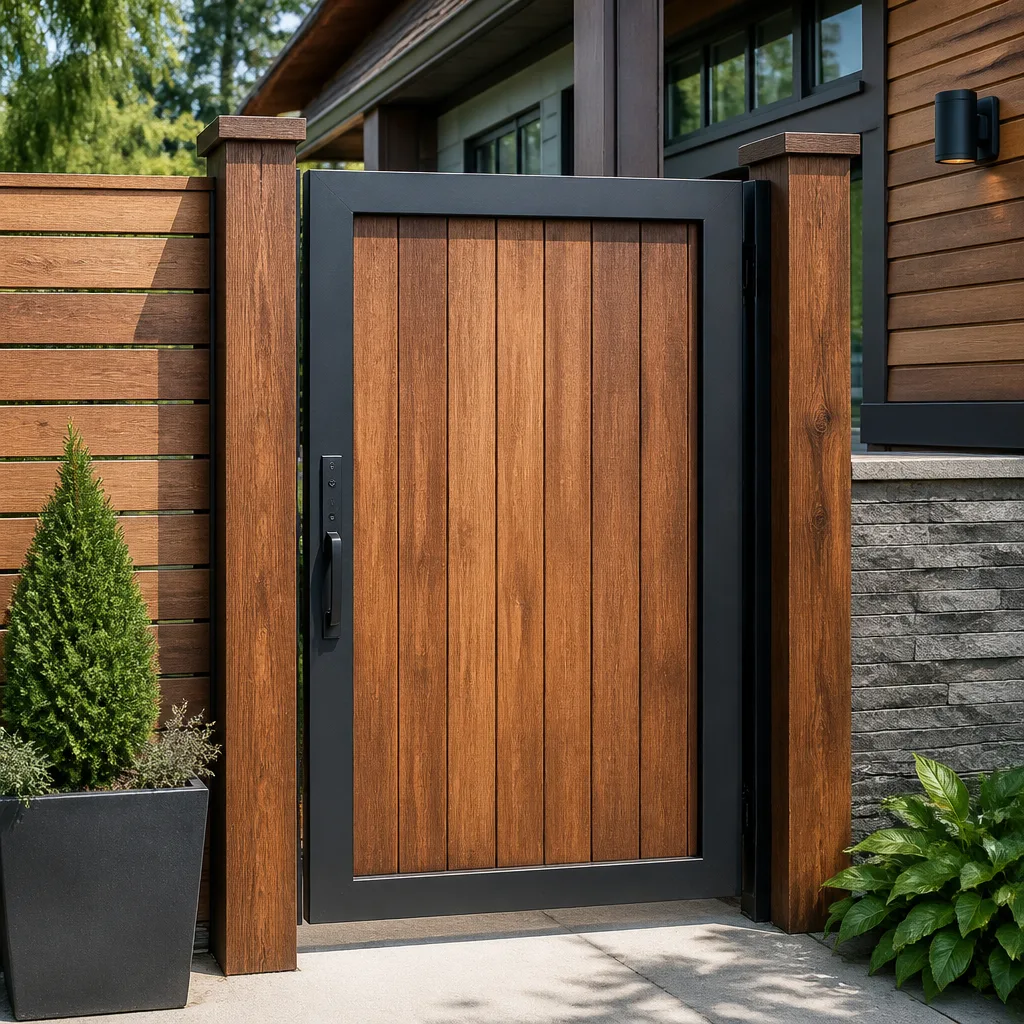 Wood & steel frame
 Farm & ranch
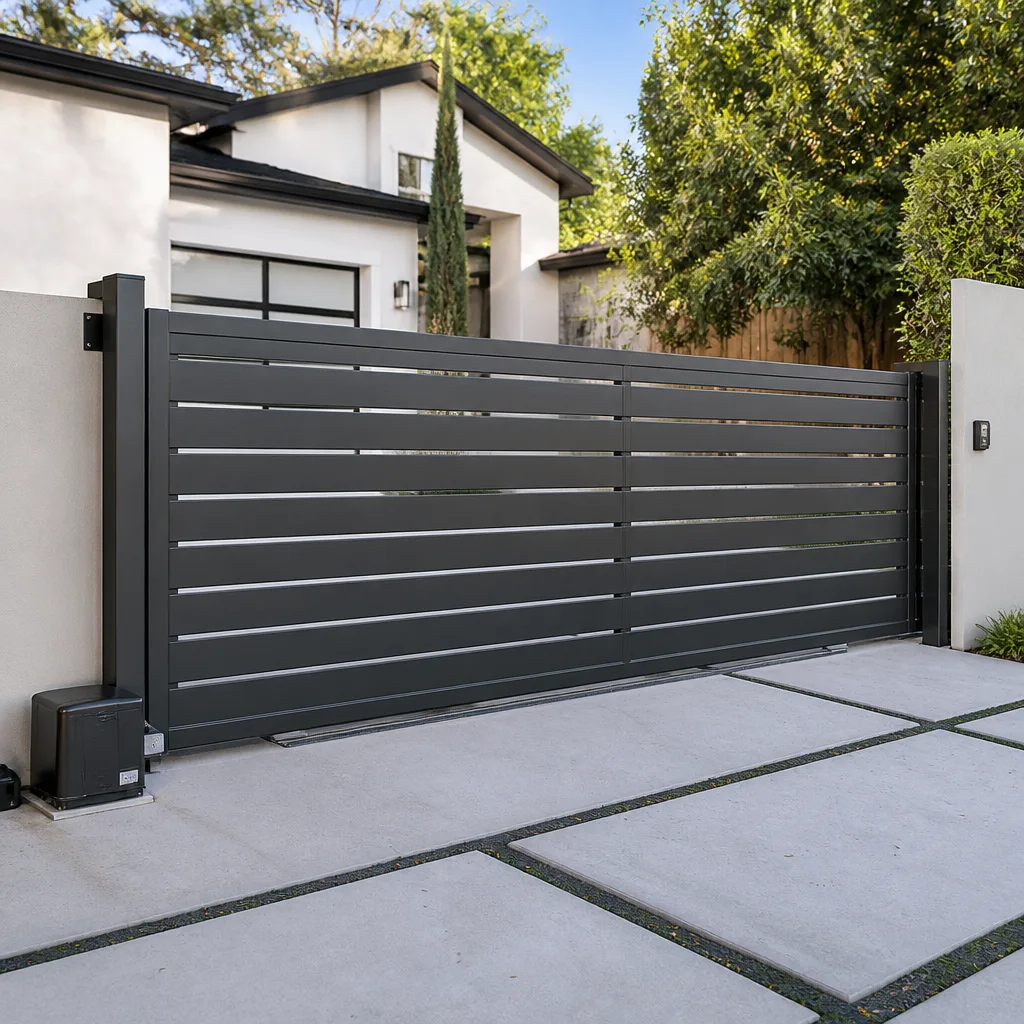 Sliding driveway gates
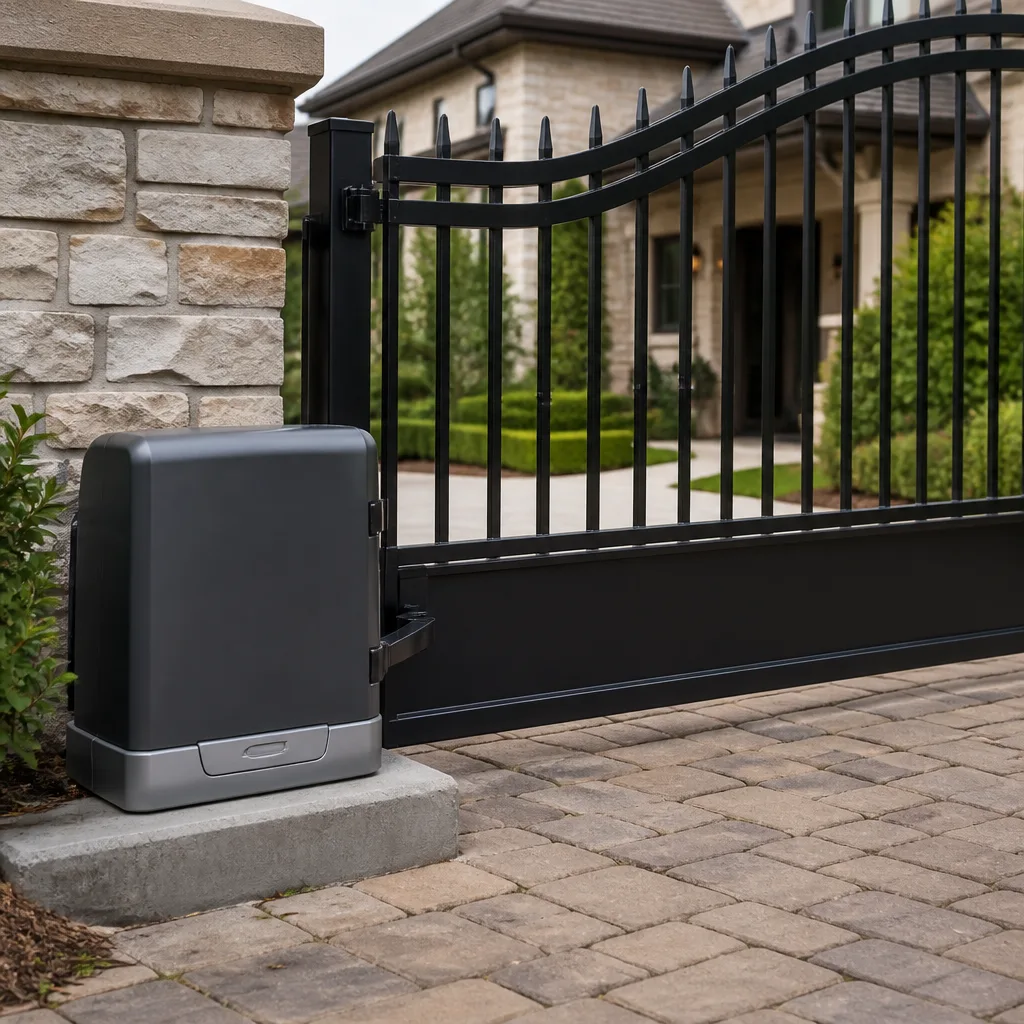 LiftMaster operators
Free on-site gate assessment - hinges, posts, and your LiftMaster or Nice gate operator checked before anything is quoted
The assessment is free and the quote is the invoice.
Get your free estimateGate Repair Maintenance Checklist for Brooklyn Homeowners
Subway vibration from the F and G lines is measurable at street level in Park Slope and Cobble Hill, and it loosens gate post anchors at a rate that a once-a-year visual inspection will always miss. A gate that looks fine from the sidewalk can be weeks away from sagging, binding, or pulling its post out of a 100-year-old brownstone facade. This guide is written for Brooklyn homeowners who want a maintenance routine that matches what actually degrades ironwork in this borough: road salt, humidity, vibration, and aging masonry. You’ll learn what to check monthly, quarterly, and annually, which products to use and which to avoid, and how to document your gate’s condition so you have a written baseline for insurance, property sales, or warranty work.
Styles & brands we work with
Quick Answer
A proper Brooklyn gate maintenance routine has three parts: a monthly 10-minute visual and mechanical check (latch action, hinge movement, visible rust), a quarterly cleaning and lubrication session using the right product for your gate’s finish, and an annual anchor and post integrity inspection that verifies the gate is still securely fastened to the building or fence. Most Brooklyn gates need professional attention about once every 12 to 18 months, and catching post anchor movement early is the single most valuable thing you can do.
Table of Contents
- Why Brooklyn Gates Fail Differently Than Gates Anywhere Else
- The Monthly Checklist: 10 Minutes That Prevent Most Failures
- The Quarterly Checklist: Cleaning, Lubrication, and Finish Protection
- The Annual Checklist: Anchor Integrity, Post Movement, and Documentation
- Which Lubricants Are Safe on Powder-Coated Ornamental Gates vs. Bare Wrought Iron
- How to Test a Latch Mechanism for Wear Before It Fails
- Documenting Post Anchor Integrity: Your Written Baseline
- The Cleanup Standard to Expect From Any Contractor
- Common Mistakes to Avoid
- When to Call a Professional
- Frequently Asked Questions
- The Bottom Line
Why Brooklyn Gates Fail Differently Than Gates Anywhere Else
Most gate maintenance checklists online were written for suburban wood fences in dry climates. They talk about warped pickets, dry rot, and sprinkler damage. None of that applies to a steel or wrought iron gate anchored into brownstone, brick, or stucco on a Brooklyn street. The actual failure modes here are different, and they’re consistent enough that we can predict them.
The first factor is road salt. Every winter, salt trucks coat Brooklyn streets, and every car that passes kicks up a fine saline mist. That mist settles on gate hardware and works its way into hinge pins, latch springs, and the tiny gaps between the gate frame and its finish. Salt is hygroscopic, meaning it pulls moisture out of the air. A salted hinge stays damp even on dry days, and that’s how a powder-coated gate that looks perfect on the outside can have rust forming inside its hinge knuckles within two or three winters.
The second factor is vibration. We’ve measured gate post movement in Park Slope and Cobble Hill using a simple dial indicator, and gates within a block of the F or G line show measurable micro-movement multiple times per hour. Each train pass sends a low-frequency pulse through the soil and into the masonry. Over years, that pulse loosens anchor bolts, shifts post footings, and creates hairline cracks in surrounding stucco. A homeowner who checks their gate once a year in the spring will miss this because the movement is invisible to the eye until it’s advanced.
The third factor is age and substrate. Many Brooklyn gates are mounted into masonry that’s 80 to 120 years old. The brick or brownstone was never designed to carry a swinging steel panel. Anchor bolts that seemed secure when installed can lose grip as the surrounding mortar crumbles, freezes, thaws, and absorbs moisture. We regularly see gates where the post itself is perfectly fine but the wall it’s bolted to has begun to fail.
This is why gate repair in Brooklyn looks different from gate repair almost anywhere else. The gate is rarely the only problem. The anchor point, the substrate, and the environment are all part of the same system.
The Monthly Checklist: 10 Minutes That Prevent Most Failures
The monthly check is about catching early movement and audible changes before they become visible damage. Set aside ten minutes on the first weekend of the month. Most of this is observational, and you won’t need more than a flashlight, a rag, and your hands.
- Open and close the gate slowly, three full cycles. Listen for any new sound: a click that wasn’t there last month, a scrape, a change in pitch when the gate reaches the end of its swing. New sounds mean something changed.
- Watch the gap between the gate frame and the post. As the gate opens, the gap at the top and bottom should stay roughly even. If the gap widens at one end or the gate appears to drop slightly as it clears the latch, the hinges are wearing or the post is beginning to lean.
- Check the latch engagement with a slow close. The latch should seat cleanly without you having to push or lift the gate. If you have to nudge the gate up, down, or toward the post to get the latch to catch, the alignment has shifted.
- Run a rag over all four hinge knuckles. Look at the rag. Orange or brown residue is early rust dust. If the rag comes away clean, the hinges are dry but fine. If it comes away orange, schedule a lubrication and inspection.
- Look for cracks in the masonry around the post. Use a flashlight at an angle. New hairline cracks in stucco or brick around the top or bottom anchor plate are a sign the post is moving under load.
- For electric gates, test the auto-reverse. Place a rolled-up towel in the gate’s path and close it. The gate should stop and reverse before crushing the towel. This should be tested monthly without exception, especially in homes with kids or pets.
If the monthly check surfaces anything new, write it down. Your notes are the baseline for the annual inspection, and they’re what make the difference between catching a post shift early and discovering it after it’s pulled six inches out of the wall.
The Quarterly Checklist: Cleaning, Lubrication, and Finish Protection
Four times a year, the gate needs actual maintenance, not just observation. This is a 45-minute session that protects the finish, keeps the hardware moving freely, and prevents the salt accumulation that drives most Brooklyn gate repairs. Spring and fall are the non-negotiable sessions. Summer and winter are worth doing if the gate is exposed to street-facing salt spray or if you have an electric operator.
- Wash the gate frame and pickets with warm water and a car-wash soap. Use a soft-bristle brush or a microfiber mitt. You’re removing salt, soot, brake dust, and the fine grit that gets thrown up from the street. Avoid dish soap; it strips protective waxes and leaves no corrosion protection behind.
- Rinse thoroughly and dry with a clean microfiber towel. Leaving the gate to air-dry in Brooklyn humidity lets water sit in the hinge areas and anywhere the finish has a scratch or chip. Dry it. The drying step matters more than the washing step.
- Inspect the entire surface for chips, scratches, and bare-metal spots. Any place where the powder coat has been broken is a rust initiation point. Mark these spots mentally or with a piece of tape.
- Lubricate the hinges, hinge pins, and latch bolt. The product you use depends on your gate’s finish. See the lubricant section below for the complete breakdown. The short version: use a dry-film PTFE lubricant on powder-coated ornamental iron, and a penetrating rust inhibitor on bare wrought iron.
- Wipe away all excess lubricant. A thin film is all you need. Excess lubricant attracts dirt and road grime, which then works its way into the hinge and grinds the pin.
- Check electric gate limit switches and track rollers, if applicable. For slide gates, clear the track of pebbles, leaves, and anything else that’s accumulated. Brooklyn sidewalks shed debris, and a small pebble in a slide track will stress the operator motor over time.
- For electric operators, inspect the arm or actuator mounting bolts. These bolts loosen slowly under repeated cycling and vibration. A quarter-turn of looseness at the actuator is noticeable in the gate’s operation, and it should be tightened before it gets worse.
The quarterly session is where you’ll catch 80 percent of the finish issues that eventually turn into structural rust. It’s also where most homeowners learn whether their gate was ever properly lubricated by the previous owner. Many were not.
The Annual Checklist: Anchor Integrity, Post Movement, and Documentation
The annual check is the one that belongs to a professional for most homeowners, but you can do the preliminary inspection yourself and you should. This is where post anchor integrity, masonry condition, and gate weight distribution get measured with tools rather than eyes.
- Check for post lean using a 4-foot level. Place the level against the post’s flat face vertically, then repeat on the adjacent face. A post that reads within the bubble on one face but off-level on the other has begun to tilt. Even a quarter-inch of lean over four feet means the anchors are moving.
- Inspect all visible anchor bolts with a wrench. Using the correct size wrench, verify each bolt is torqued to snug. Loose bolts mean the post has been working against its mount. Do not over-tighten; the goal is to confirm grip, not to force a failed anchor.
- Examine the masonry surrounding each anchor plate. Look at the mortar joints and the stucco or brick face. Crumbling mortar, spalling brick edges, or visible displacement around the plate are all signs the substrate is failing. This is a Brooklyn-specific failure mode tied directly to aging masonry and freeze-thaw cycles.
- Measure the gate drop at full open. Open the gate to 90 degrees and measure the distance from the bottom of the gate to the ground at the latch end. Record this number. Repeat the same measurement every year. If the number changes by more than a quarter-inch, the hinges are wearing or the post is leaning.
- Check the gate’s weight distribution. The gate should swing freely but not loosely. A properly balanced gate will stay where you put it through most of its travel. If it slams closed or swings open on its own, the post has shifted or the hinges have sagged.
- Document everything in writing. Photos of the anchor plates, level readings, measurements, and notes on any masonry cracks. Save this in a folder. You now have a baseline for next year’s comparison, for insurance documentation, and for any future property sale.
If any of these checks reveal movement, call a Brooklyn gate repair specialist before the problem compounds. Post anchor failures accelerate. A gate that’s slightly loose in April can be significantly worse by September, and a gate that pulls its anchors entirely can damage the surrounding masonry and become a liability.
Which Lubricants Are Safe on Powder-Coated Ornamental Gates vs. Bare Wrought Iron
The wrong lubricant on the wrong finish causes more damage than no lubricant at all, and the most common mistake is applying WD-40 to everything that squeaks. In Brooklyn’s humid summers, this specifically accelerates rust in ways most homeowners don’t expect.
WD-40 is a water-displacing solvent. It’s designed to clean, loosen, and displace moisture, and it does those things well. But it’s not a durable lubricant, and its thin film evaporates within days, leaving bare metal exposed. Worse, the solvent-carrier action can strip away whatever protective oil or wax was already on the hinge. So a homeowner who sprays WD-40 on a squeaky hinge every month is effectively washing the hinge clean and then leaving it unprotected. In a Brooklyn July with 80 percent humidity, that hinge starts rusting within weeks.
Here’s the product selection that works on borough ironwork:
- Powder-coated ornamental gates (most common in Brooklyn row houses and brownstones): Use a dry-film PTFE lubricant. It goes on wet, then the carrier evaporates and leaves a thin, dry, non-sticky PTFE film. That film lubricates without attracting dirt, and it doesn’t degrade the powder coat. A dry film is important because a wet, greasy hinge on a powder-coated gate will catch road grit, and that grit grinds the finish off the hinge knuckles.
- Bare wrought iron gates (older installations, especially in historic districts like Park Slope and Brooklyn Heights): Use a penetrating oil with corrosion inhibitor. Something in the family of a light machine oil with rust prevention additives is right. Bare wrought iron needs an oil film to keep oxygen and moisture off the surface. The film will attract some dirt, which is why these gates need cleaning more often, but the corrosion protection is worth it.
- Latch bolts and lock cylinders: Use a graphite dry lubricant. Graphite doesn’t gum up, doesn’t wash away in rain, and works well in the tight clearances of a latch mechanism. Avoid any oil-based product inside a lock cylinder; it captures dust and eventually freezes the tumblers.
- Electric operator arms and threaded adjustment points: A light silicone spray is appropriate here. Silicone won’t damage rubber seals, won’t collect grit on exposed threads, and works well for the pivoting joints of an actuator arm.
For households with pets, we choose pet-safe lubricants where there’s a choice. A dog that noses against a gate post will transfer whatever’s on that post to its fur, and a PTFE dry film is effectively inert once cured. If you’re not sure what to use, a gate specialist can identify the finish and recommend a specific product rather than a general class.
How to Test a Latch Mechanism for Wear Before It Fails
A latch that’s starting to wear rarely announces itself with a dramatic failure. It degrades in tiny increments: slightly more force required, a little less positive engagement, a catch that sometimes needs a second push. By the time a latch fails completely, usually at 11 p.m. on a cold night, it’s been failing in slow motion for months. There’s a simple test to catch this early.
The two-finger pressure test: Close the gate and let the latch engage naturally. Now place two fingers on the gate handle or the latch lever itself and try to open the gate. It should not open. Not with two fingers, not with a tug, not with a jiggle. A healthy latch requires deliberate action to release. If two fingers of pressure are enough to make the latch pop free, the latch spring is weakening, the strike plate is worn, or the bolt is not seating far enough into the keeper.
The rattle test: With the gate closed and latched, grab the gate near the latch point and shake it gently forward and backward. Listen. A small rattle is normal clearance. A distinct clack means the latch bolt is loose in its keeper, and every wind gust or vibration event is wearing both surfaces a little more.
The alignment check: Kneel down and look at the latch bolt where it enters the strike plate or keeper. The bolt should enter the opening cleanly, with even clearance on both sides and no visible scraping. If the bolt sits high or low in the opening, or if you can see bright metal where the bolt has been scraping, the gate has dropped or the post has moved. No amount of latch adjustment fixes that; the underlying alignment issue needs to be addressed.
Every gate comes down to two parts: the latch that holds it and the post that carries it. That’s the job we focus on at Latch and Post Gate Repair Brooklyn home service. If the two-finger test says your latch is wearing, it’s a simple fix when caught early and a much more involved job if the failure damages the gate frame or the post.
Documenting Post Anchor Integrity: Your Written Baseline
Most Brooklyn homeowners have never seen their gate’s anchor bolts, let alone measured them. That’s a mistake. A written baseline of your post anchor condition is the single most useful document you can have for insurance claims, property sales, and warranty disputes. It’s also cheap to produce: a notebook, a phone camera, and 15 minutes once a year.
Create a simple gate condition file. Inside it, record:
- The date and the person performing the inspection. If it’s you, write your name. If it’s a technician, get their name and company.
- Post lean measurement. Note the level reading on both post faces, and write down the exact location where the level was placed, so each year’s reading is taken from the same spot.
- Gate drop measurement. The distance from the gate bottom to the ground at the latch end, measured at full open. Record the number in inches.
- Anchor bolt condition. How many bolts, what size if you know it, and whether each one was snug or loose. A photo of each anchor plate helps.
- Masonry condition around the plate. Note any cracks, their length and width, and whether they were present before or new this year. Photograph them with a coin or ruler in the frame for scale.
- Latch engagement photos. One photo of the latch bolt fully seated in the keeper, one with the gate open showing the strike plate.
This file does three things. For insurance: if your gate is damaged by a vehicle strike or a storm, you have a dated record showing the gate was properly maintained and securely anchored before the incident. For property sales: a documented maintenance history answers the buyer’s questions about the gate’s condition without relying on memory. For warranty work: if an electric gate repair is covered by an operator manufacturer’s warranty, your documentation shows the gate and its mounting were maintained, which is often a condition of the coverage.
Start the file this month. The first entry becomes the baseline that every future inspection compares against, and the value of that baseline grows every single year you add to it.
The Cleanup Standard to Expect From Any Contractor
A gate contractor works in your entryway, on your stoop, or inside your front yard. The work involves grinding, cutting, drilling, and lubricating, and all of those produce debris, dust, and residue. The difference between a contractor who leaves your house the way they found it and one who leaves you with a garage full of metal shavings is entirely about process. Here’s the standard we hold ourselves to, and you should ask for the same from anyone you hire.
Written price before work starts. A written price is provided before any work begins, every single visit, with no pressure to accept. If a contractor won’t put the number on paper before they touch your gate, you don’t know what you’re agreeing to. More detail on this is covered in our Brooklyn gate installation pricing guidance.
Shoe covers and drop cloths on every visit. We lay drop cloths on the floor and put on shoe covers before we step inside. Your floors stay clean. This is not an upsell and it’s not optional. It’s part of the C.A.R.E. values: Clean up like it is our own home; Ask before we move or touch anything; Respect the family’s time and quiet hours; Explain the price before the work.
A photo of the clean-up before the technician leaves. Before we pack up, the technician takes a photo of the work area after cleanup. The photo goes into the job record. You can ask for it, and we’re happy to send it to you. If another contractor finds this request odd, that tells you something about their process.
Quiet tools when kids are asleep. For homes with small children or shift workers, we can schedule around nap time if quiet matters. The work still gets done, but the noisiest operations get sequenced around the family rather than the other way around.
Any contractor who services Brooklyn gates can adopt these practices. Many don’t, but you can make it a condition of the job. Ask before you book: what’s your cleanup process, are your technicians background-checked, do you provide a written price before starting. The answers will tell you everything you need to know.
Common Mistakes to Avoid
- Spraying WD-40 on everything that moves. WD-40 strips protective residue and evaporates without leaving durable lubrication. In Brooklyn’s humid summers, it accelerates rust on bare hinge pins by repeatedly washing them clean and leaving them exposed to salty air. Use a dry-film PTFE on powder-coated iron or a penetrating oil with corrosion inhibitor on bare wrought iron.
- Painting over rust without removing it. A layer of paint over active rust traps moisture against the metal, and the rust continues eating underneath. The paint separates within a year and the gate looks worse than it did. Rust needs to be removed to bare metal, primed, and then repainted, or addressed with a rust converter appropriate for the finish.
- Ignoring a gate that only acts up occasionally. A gate that sometimes sticks, sometimes rattles, or sometimes fails to latch is a gate with a developing problem. Occasional problems are not random; they’re early signs of wear that will become consistent problems. Document when it happens and what the weather was like; the pattern will tell you a lot.
- Over-tightening a loose anchor bolt. When a homeowner discovers a loose post anchor bolt, the instinct is to crank it down tight. But if the bolt is loose because the substrate is failing, over-tightening accelerates the masonry damage and can crack the surrounding brick or stucco. A loose anchor in failing masonry needs a professional assessment, not a bigger wrench.
- Adjusting or replacing a latch without checking the gate’s alignment. A latch that won’t seat is usually a symptom of gate sag or post lean, not a defective latch. Replacing or adjusting the latch without addressing the underlying alignment buys weeks of function, not a fix. The new latch will wear prematurely and you’ll be back where you started.
- Skipping the auto-reverse test on electric gates. This is the one with real safety consequences. An electric gate’s auto-reverse mechanism should be tested monthly, especially in any home with children or pets. The test takes 30 seconds with a rolled-up towel, and it verifies that the force limiter is functioning. Gates installed before current safety standards, or gates that have been recently adjusted, should be confirmed by a professional.
- Deferring maintenance because the gate still works. Brooklyn gates fail quietly. The anchor loosens, the hinge wears, the post leans, and none of it announces itself until something breaks. A 10-minute monthly check and a 45-minute quarterly session cost almost nothing and prevent most repairs that Brooklyn homeowners actually face.
When to Call a Professional
Some gate issues are safe to manage yourself, and some are not. Call a professional when the gate’s post shows visible lean, when anchor bolts are loose more than once in a 12-month period, when you see cracked masonry around the anchor plates, or when the gate drops more than a quarter-inch from its baseline measurement. These are structural issues, and they’ll continue to worsen until the mounting point is rebuilt or reinforced. Electric gate operators involve force, voltage, and moving metal; any repair that requires opening the operator housing or adjusting force limits should go to a technician trained on the brand you own. Latch and Post Gate Repair Brooklyn offers free estimates in Brooklyn. Call (934) 649-3673 and a live person will answer, any hour.
Frequently Asked Questions
A professional quarterly maintenance visit in Brooklyn typically runs between $120 and $250 depending on gate size, finish type, and whether an electric operator is involved. A one-time annual inspection with a written condition report is usually in the $150 to $300 range. Standard gate-latch replacements run between $180 and $340 including parts and labor, and you’ll see the exact number in writing before we touch anything. Call (934) 649-3673 for a quote specific to your gate.
Once a year for most gates, and twice a year for electric gates with automatic operators. The inspection should include a written assessment of post anchor integrity, hinge wear, latch engagement, and masonry condition around the mounting points. A gate in a high-vibration area near the F or G line may warrant a second check if the annual report shows any movement.
Yes, in most cases. A squeak means metal-on-metal contact with no lubricant film, and a proper cleaning followed by the right lubricant usually removes the sound and restores smooth movement. The hinge only needs replacement if the pin is visibly worn, the knuckles have elongated, or the gate has dropped enough that lubrication no longer restores smooth travel. The wrong product, especially WD-40 used repeatedly, can make the problem worse by leaving the hinge unprotected.
Brooklyn winters damage gates through road salt and freeze-thaw cycling, and it’s not overblown. Salt spray from passing cars accumulates on hardware and draws moisture into hinge pins and latch springs. Freeze-thaw cycles work water into hairline cracks in surrounding masonry, expanding the cracks and loosening anchor bolts. A gate that goes through three or four Brooklyn winters without a proper cleaning and lubrication session will show accelerated rust at the hinge knuckles.
Every Latch and Post visit includes a written price before any work starts, shoe covers and drop cloths on any interior access, a full inspection of the gate, hinges, latch, post anchors, and masonry condition, and a photo of the cleaned work area before the technician leaves. The technician checks the gate’s operation, documents any issues, and explains what was found and what it means before beginning any repair work. The visit is backed by the 365-Day Done Right Promise.
Yes. Our technicians are factory-trained on LiftMaster, FAAC, BFT, Linear, Viking, Ghost Controls, DoorKing, Elite, and Mighty Mule. We service the operators these Brooklyn homeowners actually own, and the right fix happens on the first visit rather than after trial-and-error.
The Bottom Line
A gate maintenance checklist for Brooklyn has to account for salt, humidity, vibration, and aging masonry, because those are what actually make gates fail here. The routine is simple: ten minutes a month, 45 minutes a quarter, and a documented annual inspection. Use the right lubricant for your finish, test the latch with two fingers, and keep a written condition file so you always have a baseline. Most repairs become cheap and quick when caught early, and expensive when the post shifts or the substrate fails. For more guides & resources, or if you’re not sure what your gate needs, call (934) 649-3673. A live person answers, day or night, and the estimate is free.
Written by Cody Beckman, Owner at Latch and Post Gate Repair Brooklyn, serving Brooklyn since 2009.
See the difference
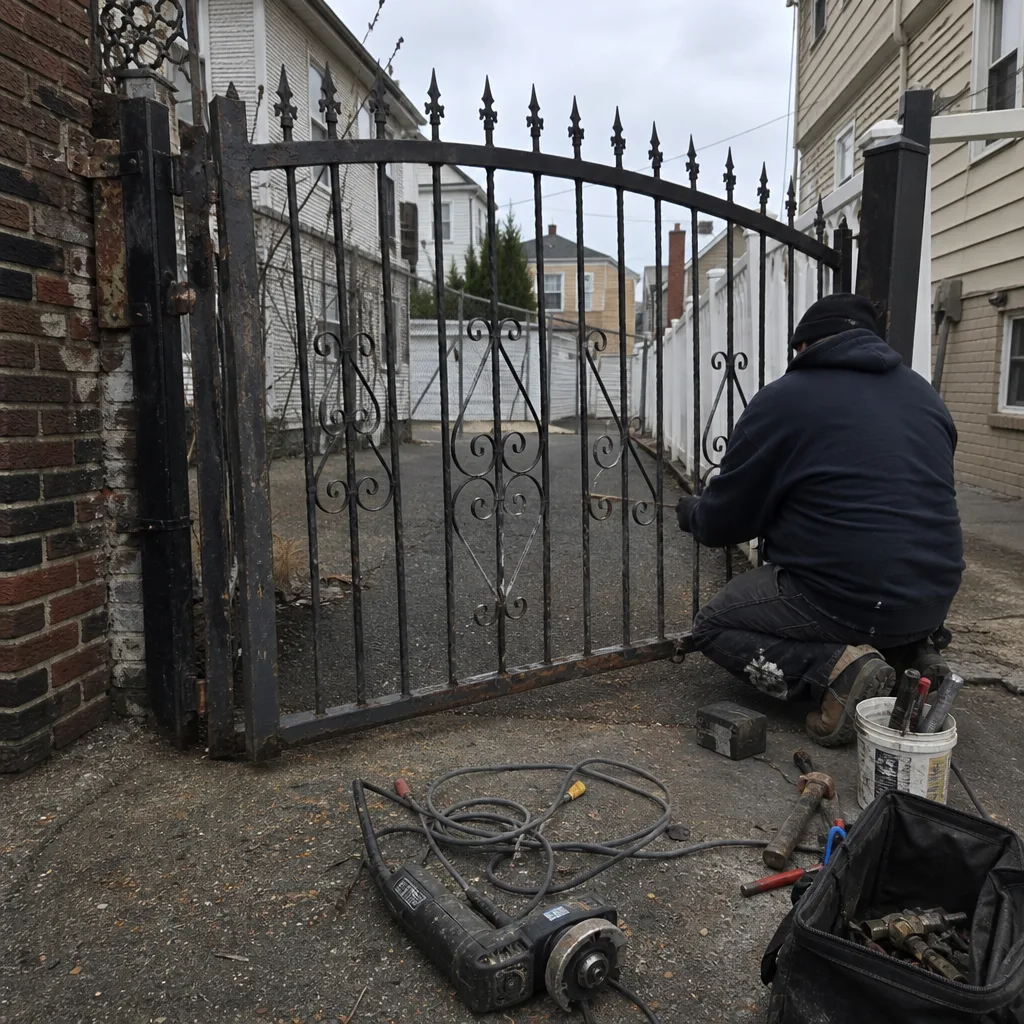 Before
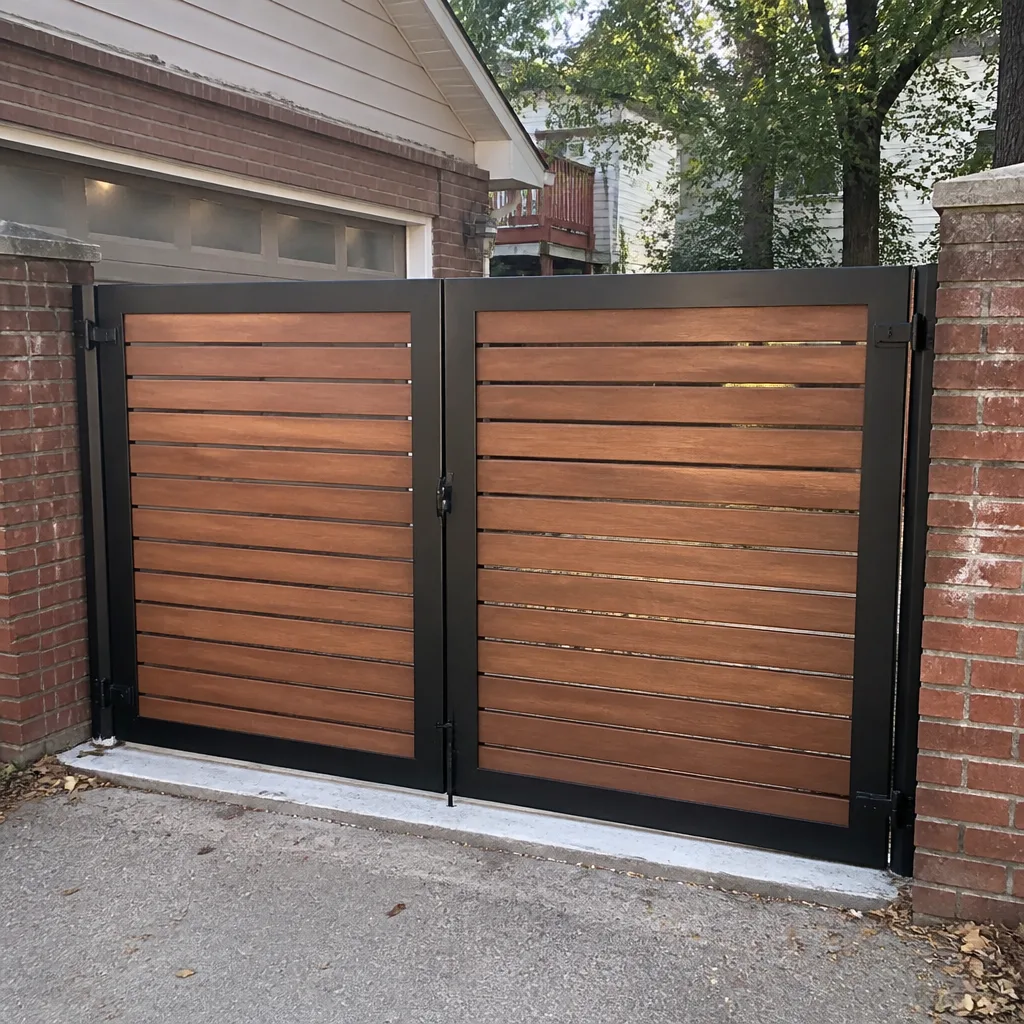 After
After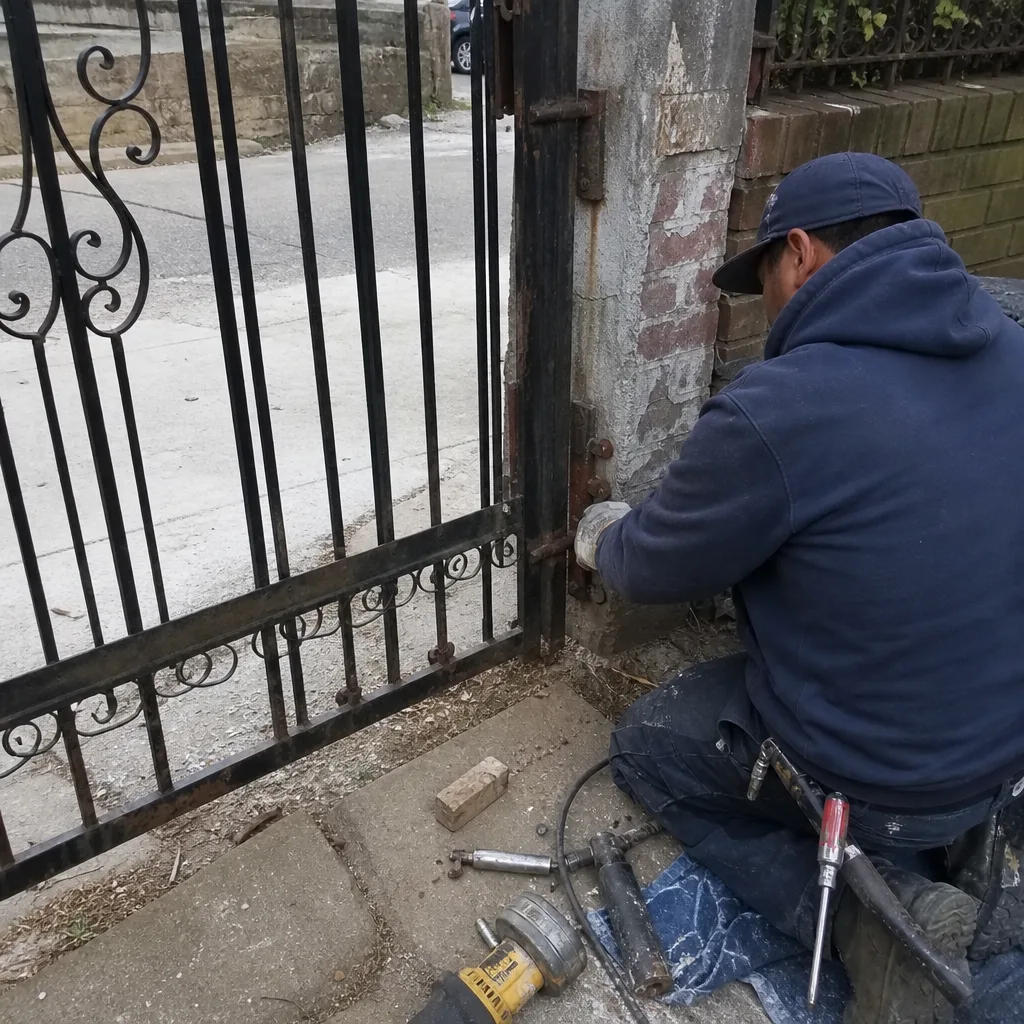 Before
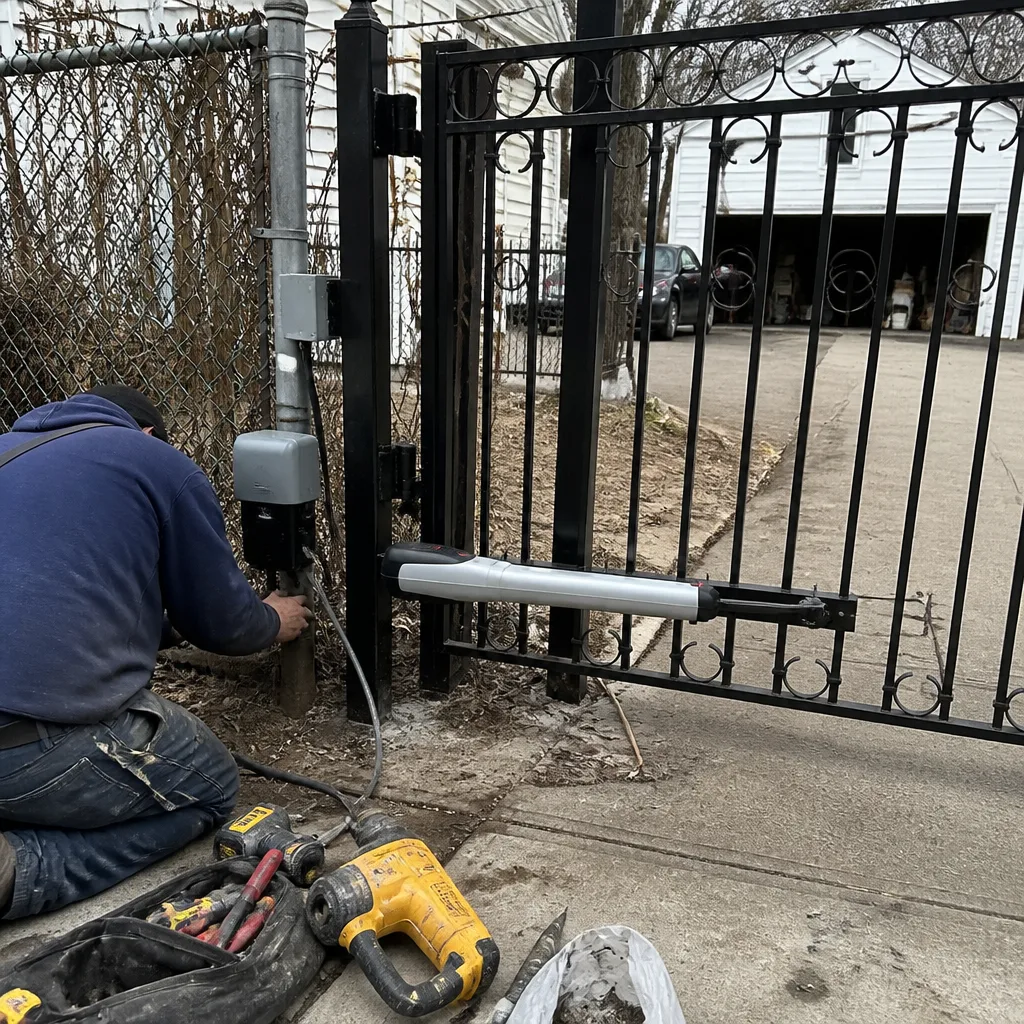 After
After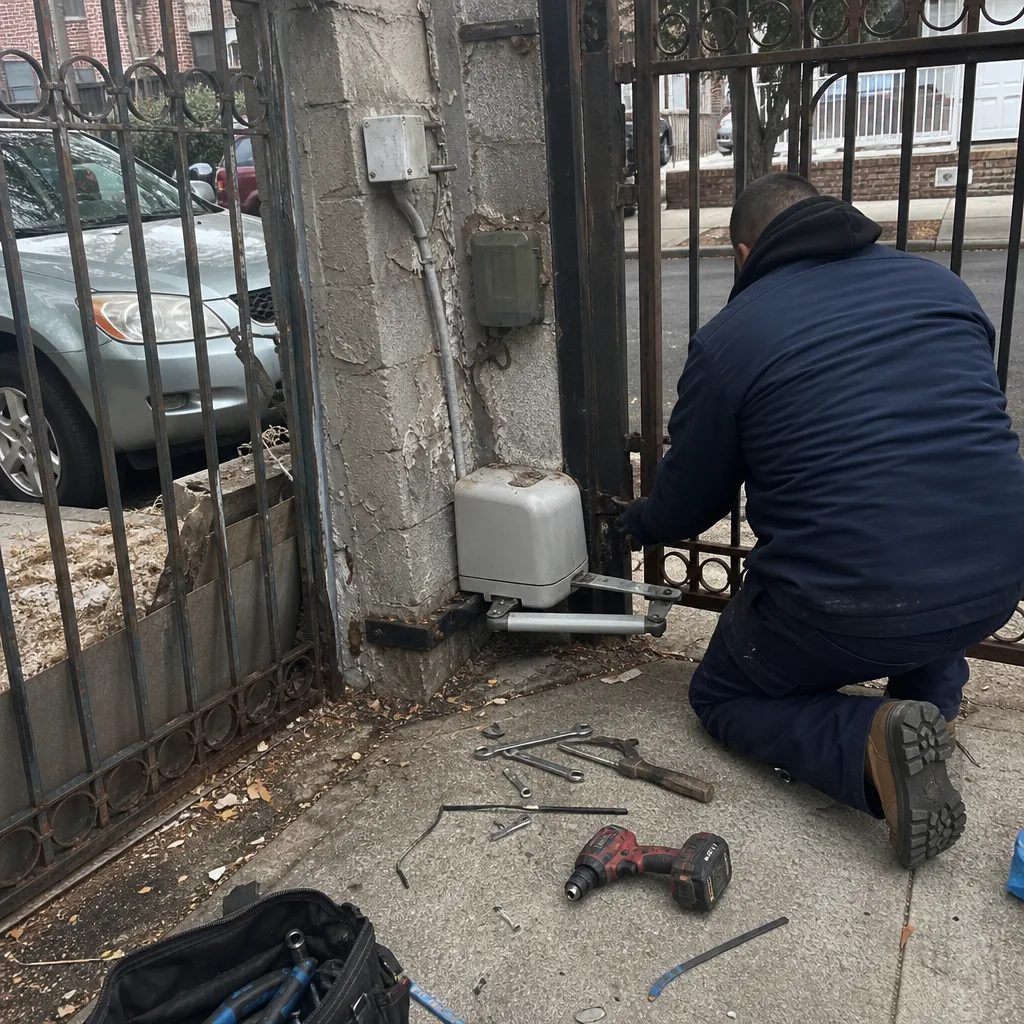 Before
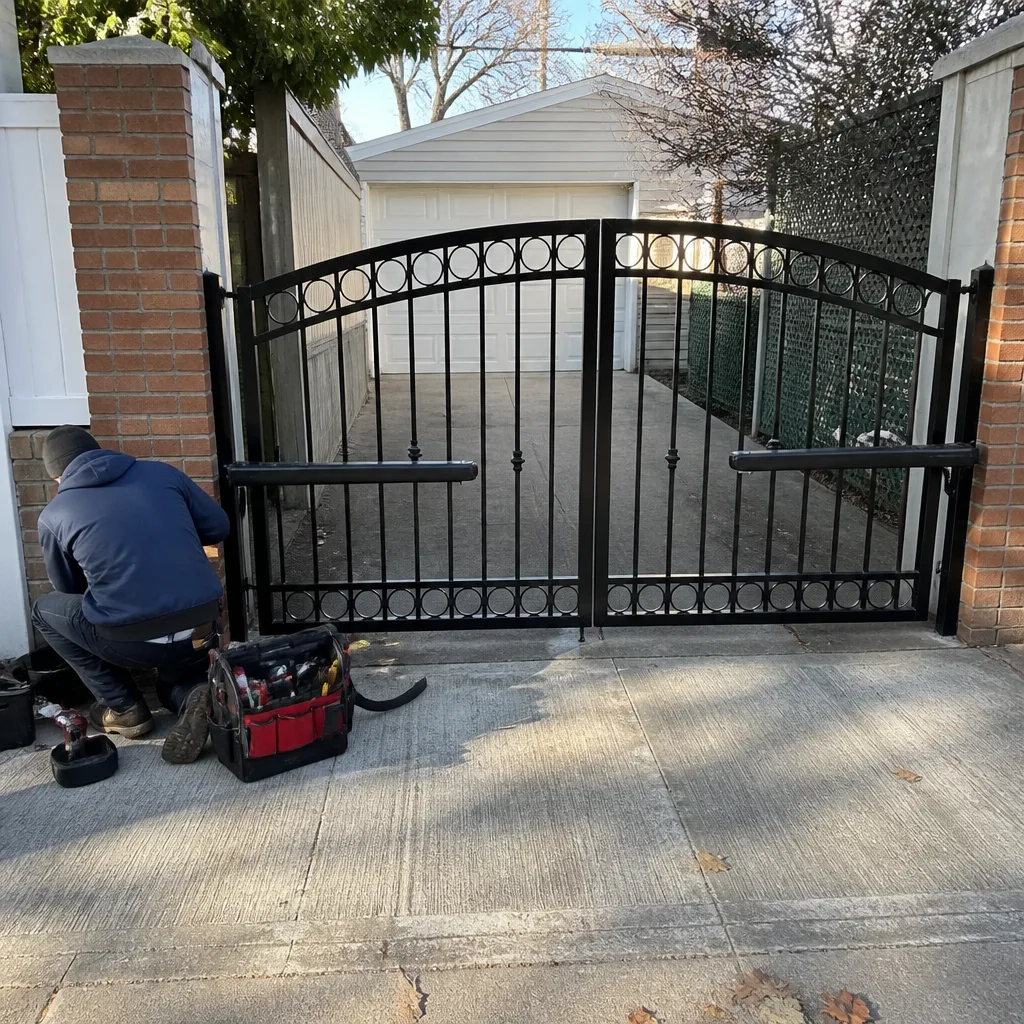 After
After